2026
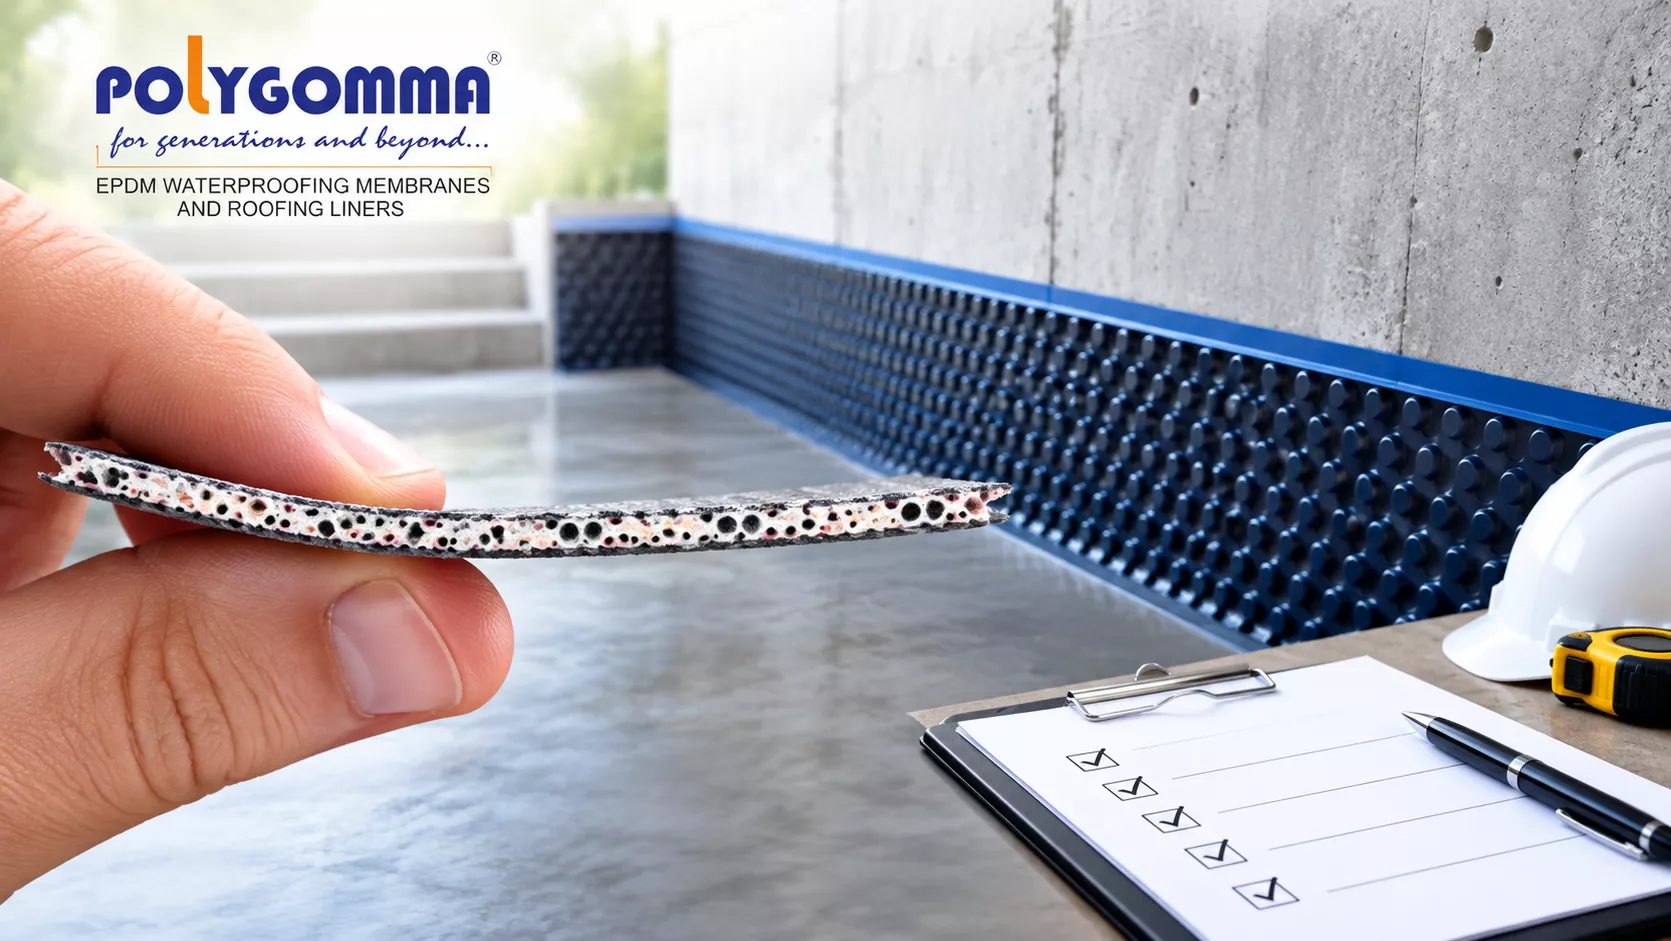
Basement Tanking Membranes: A Contractor’s Checklist Before Installation
A basement can look perfectly dry during a site visit and still become a serious waterproofing problem once groundwater pressure increases. Poor substrate preparation, unsuitable membranes, badly treated joints or simple installation errors can allow moisture to enter behind walls and floors. That is why choosing a basement tanking membrane is only one part of the job.
Before starting tanking membrane installation, contractors should check:
- Ground conditions: Understand groundwater levels, drainage and hydrostatic pressure.
- Substrate condition: Concrete and masonry must be sound, clean and properly prepared.
- Membrane suitability: Match the waterproofing system to the building, exposure and expected moisture levels.
- Details and joints: Plan corners, penetrations, construction joints and drainage before installation.
A proper checklist helps prevent problems that are expensive and disruptive to correct later.
Understand the Basement Before Choosing the Membrane
No two basement projects are exactly the same. A new commercial basement in Manchester may have very different requirements from a residential basement refurbishment in London or a below-ground structure in a waterlogged area of the USA.
Start with the site conditions. Check whether the basement is exposed to groundwater, surface water or occasional dampness. Where groundwater is present, hydrostatic pressure can push water against walls and floors continuously.
The contractor should establish:
- Groundwater conditions and expected water pressure
- Soil type and site drainage
- Existing cracks, joints and movement
- Wall and floor construction
- Existing waterproofing, if any
- Locations of pipes, cables and other penetrations
This information helps determine whether a bonded, mechanically fixed or cavity drainage approach is appropriate.
Inspect and Prepare the Substrate
Even a high-quality waterproofing material can fail when applied to a poorly prepared surface. Before any membrane is installed, inspect the substrate carefully.
Look for structural and surface defects: Cracks, honeycombing, loose material and contaminated surfaces should be addressed before waterproofing begins. Concrete should be adequately cured and free from dust, oil, laitance and other contaminants.
Check surface consistency: Sharp projections can damage membranes, while deep depressions can make installation difficult. Where required, repair and smooth the substrate according to the membrane manufacturer's specification.
Do not ignore existing moisture: Damp surfaces may require specific preparation depending on the membrane system. The contractor should follow the technical guidance for the selected product rather than relying on a generic installation method.
Plan Joints, Corners and Penetrations
Many basement leaks occur at details rather than across the main membrane surface. Corners, pipe penetrations, slab-to-wall junctions and construction joints need particular attention.
Before installation, identify every location where the membrane will have to change direction or meet another material. These areas may require compatible tapes, sealants, corner pieces or reinforcement.
For example, a pipe passing through a basement wall creates a potential weak point. Simply cutting the membrane around the pipe and sealing the visible gap may not provide a durable solution. The penetration should be treated using a detail compatible with the complete waterproofing system.
Check the Installation Conditions
A contractor's checklist should also cover the conditions on site during installation. Temperature, moisture, cleanliness and access can all affect how a membrane performs.
| Check | Why it matters | Contractor action |
| Substrate | Poor surfaces affect adhesion and protection | Clean, repair and prepare |
| Groundwater | Pressure can test the waterproofing system | Assess water conditions |
| Joints | Common points for water entry | Detail before membrane work |
| Penetrations | Create breaks in the membrane | Use compatible detailing |
| Membrane compatibility | Different materials may not bond correctly | Follow manufacturer guidance |
| Protection | Damage can occur after installation | Protect before backfilling |
Good planning at this stage can save considerable time during later construction.
Consider the Complete Waterproofing System
A membrane should not be considered in isolation. Modern below-ground waterproofing systems often combine more than one layer of protection depending on the building design and water exposure.
The waterproofing strategy may involve a membrane, drainage provisions, protection layers, sump arrangements and appropriate detailing. In some projects, external waterproofing is preferred because it stops water before it reaches the structure. In other situations, internal systems may be more practical, particularly during refurbishment.
For contractors, the key question is not simply, "Which membrane should we use?" It is, "How will this complete system manage water throughout the life of the building?"
Is EPDM Suitable for the Project?
An EPDM waterproofing membrane for basements can be considered where the system specification calls for a durable synthetic rubber membrane with good resistance to weathering, ozone and temperature variation.
However, suitability should always be confirmed for the particular basement design. EPDM is not automatically the right solution for every below-ground application. The membrane thickness, fixing or bonding method, joint treatment, protection and surrounding construction all matter.
Contractors should confirm:
- The membrane specification and thickness
- Approved adhesives, primers and tapes
- Compatibility with adjoining materials
- Required protection before backfilling
- Manufacturer's detailing requirements
- Installation and inspection procedures
Following the complete system specification is more important than selecting a membrane based on material name alone.
Tanking Membrane vs Damp Proofing
It is important not to treat tanking membrane vs damp proofing as two interchangeable terms. Damp proofing is generally intended to resist moisture transmission, while tanking is designed as part of a waterproofing approach where water penetration and pressure may be significant.
The right approach depends on the building and site conditions. A contractor should establish the expected water exposure before deciding what level of protection is required.
Final Basement Waterproofing Contractor Checklist
Before covering the membrane or moving to the next construction stage, carry out a final inspection. This is one of the simplest ways to catch installation issues while they can still be corrected.
Before installation
- Confirm the waterproofing design and product specification.
- Inspect and prepare all substrates.
- Identify joints, corners and penetrations.
- Check site and weather conditions where relevant.
During installation
- Follow specified overlaps, bonds or fixings.
- Avoid stretching or damaging the membrane.
- Treat transitions and penetrations carefully.
- Keep the working area clean.
Before protection or backfilling
- Inspect the complete membrane surface.
- Check seams, joints and details.
- Repair visible damage using approved methods.
- Record inspections where required.
This practical basement waterproofing contractor checklist can help reduce avoidable defects and make quality control easier.
Act Before the Waterproofing Is Covered
Basement waterproofing is difficult to correct once walls and floors are covered. Take time to inspect the substrate, confirm the membrane specification and resolve every vulnerable detail before installation begins. For suitable membrane solutions and project guidance, contact Polygomma today and discuss your basement waterproofing requirements before work starts.
Frequently Asked Questions
1. What is the best membrane for basement waterproofing?
There is no single membrane that suits every basement. The best choice depends on groundwater pressure, construction type, installation method and the overall waterproofing design. A tanking membrane installation should always follow the manufacturer's specification.
- Assess actual site water exposure before selecting the product.
- Check compatibility with concrete, masonry, adhesives and protection layers.
2. How do you install a tanking membrane?
Installation varies between products, but the substrate generally needs to be prepared before the membrane is installed and detailed around joints and penetrations. A basement tanking membrane should be installed according to its approved system rather than using a generic method.
- Prepare and inspect the substrate first.
- Pay particular attention to seams, corners and service penetrations.
3. Is EPDM good for below-ground waterproofing?
EPDM can be suitable for selected below-ground applications when the product and installation system are designed for that use. An EPDM waterproofing membrane for basements should be assessed against the site's moisture and structural requirements.
- Confirm the membrane's intended application.
- Use only compatible primers, adhesives and detailing products.
4. What causes basement waterproofing to fail?
Failures can result from poor preparation, incorrect detailing, membrane damage, incompatible materials or inadequate consideration of groundwater pressure. Proper below-ground waterproofing systems address these factors as part of one coordinated design.
- Inspect the substrate before work starts.
- Check the membrane after installation and before it is covered.
5. Is tanking better than damp proofing?
They serve different purposes and should be selected according to the level of water exposure and building requirements. Understanding tanking membrane vs damp proofing helps contractors avoid specifying insufficient protection for a basement exposed to water pressure.
- Assess groundwater and drainage conditions.
- Select the waterproofing method based on the project specification.